Landing pages are an effective way to generate leads, but I won’t lie to you: creating the landing pages in Marketo is… not easy.
I spend a lot of time designing Marketo landing pages for clients. These 7 tips will help ensure your templates match your brand, render flawlessly across all devices, are user friendly, and work with Marketo’s landing page restrictions requirements.
>> Related: 6 Ways to Handle Those Pesky Spambot Clicks in Marketo <<
In this post:
1. When to use Guided vs Free-form templates
Free-form templates are great for a simple use case where you don’t have a lot of time or technical resources at your disposal. You can simply drag-and-drop elements into your page. The downside is their functionality and responsiveness are pretty limited.
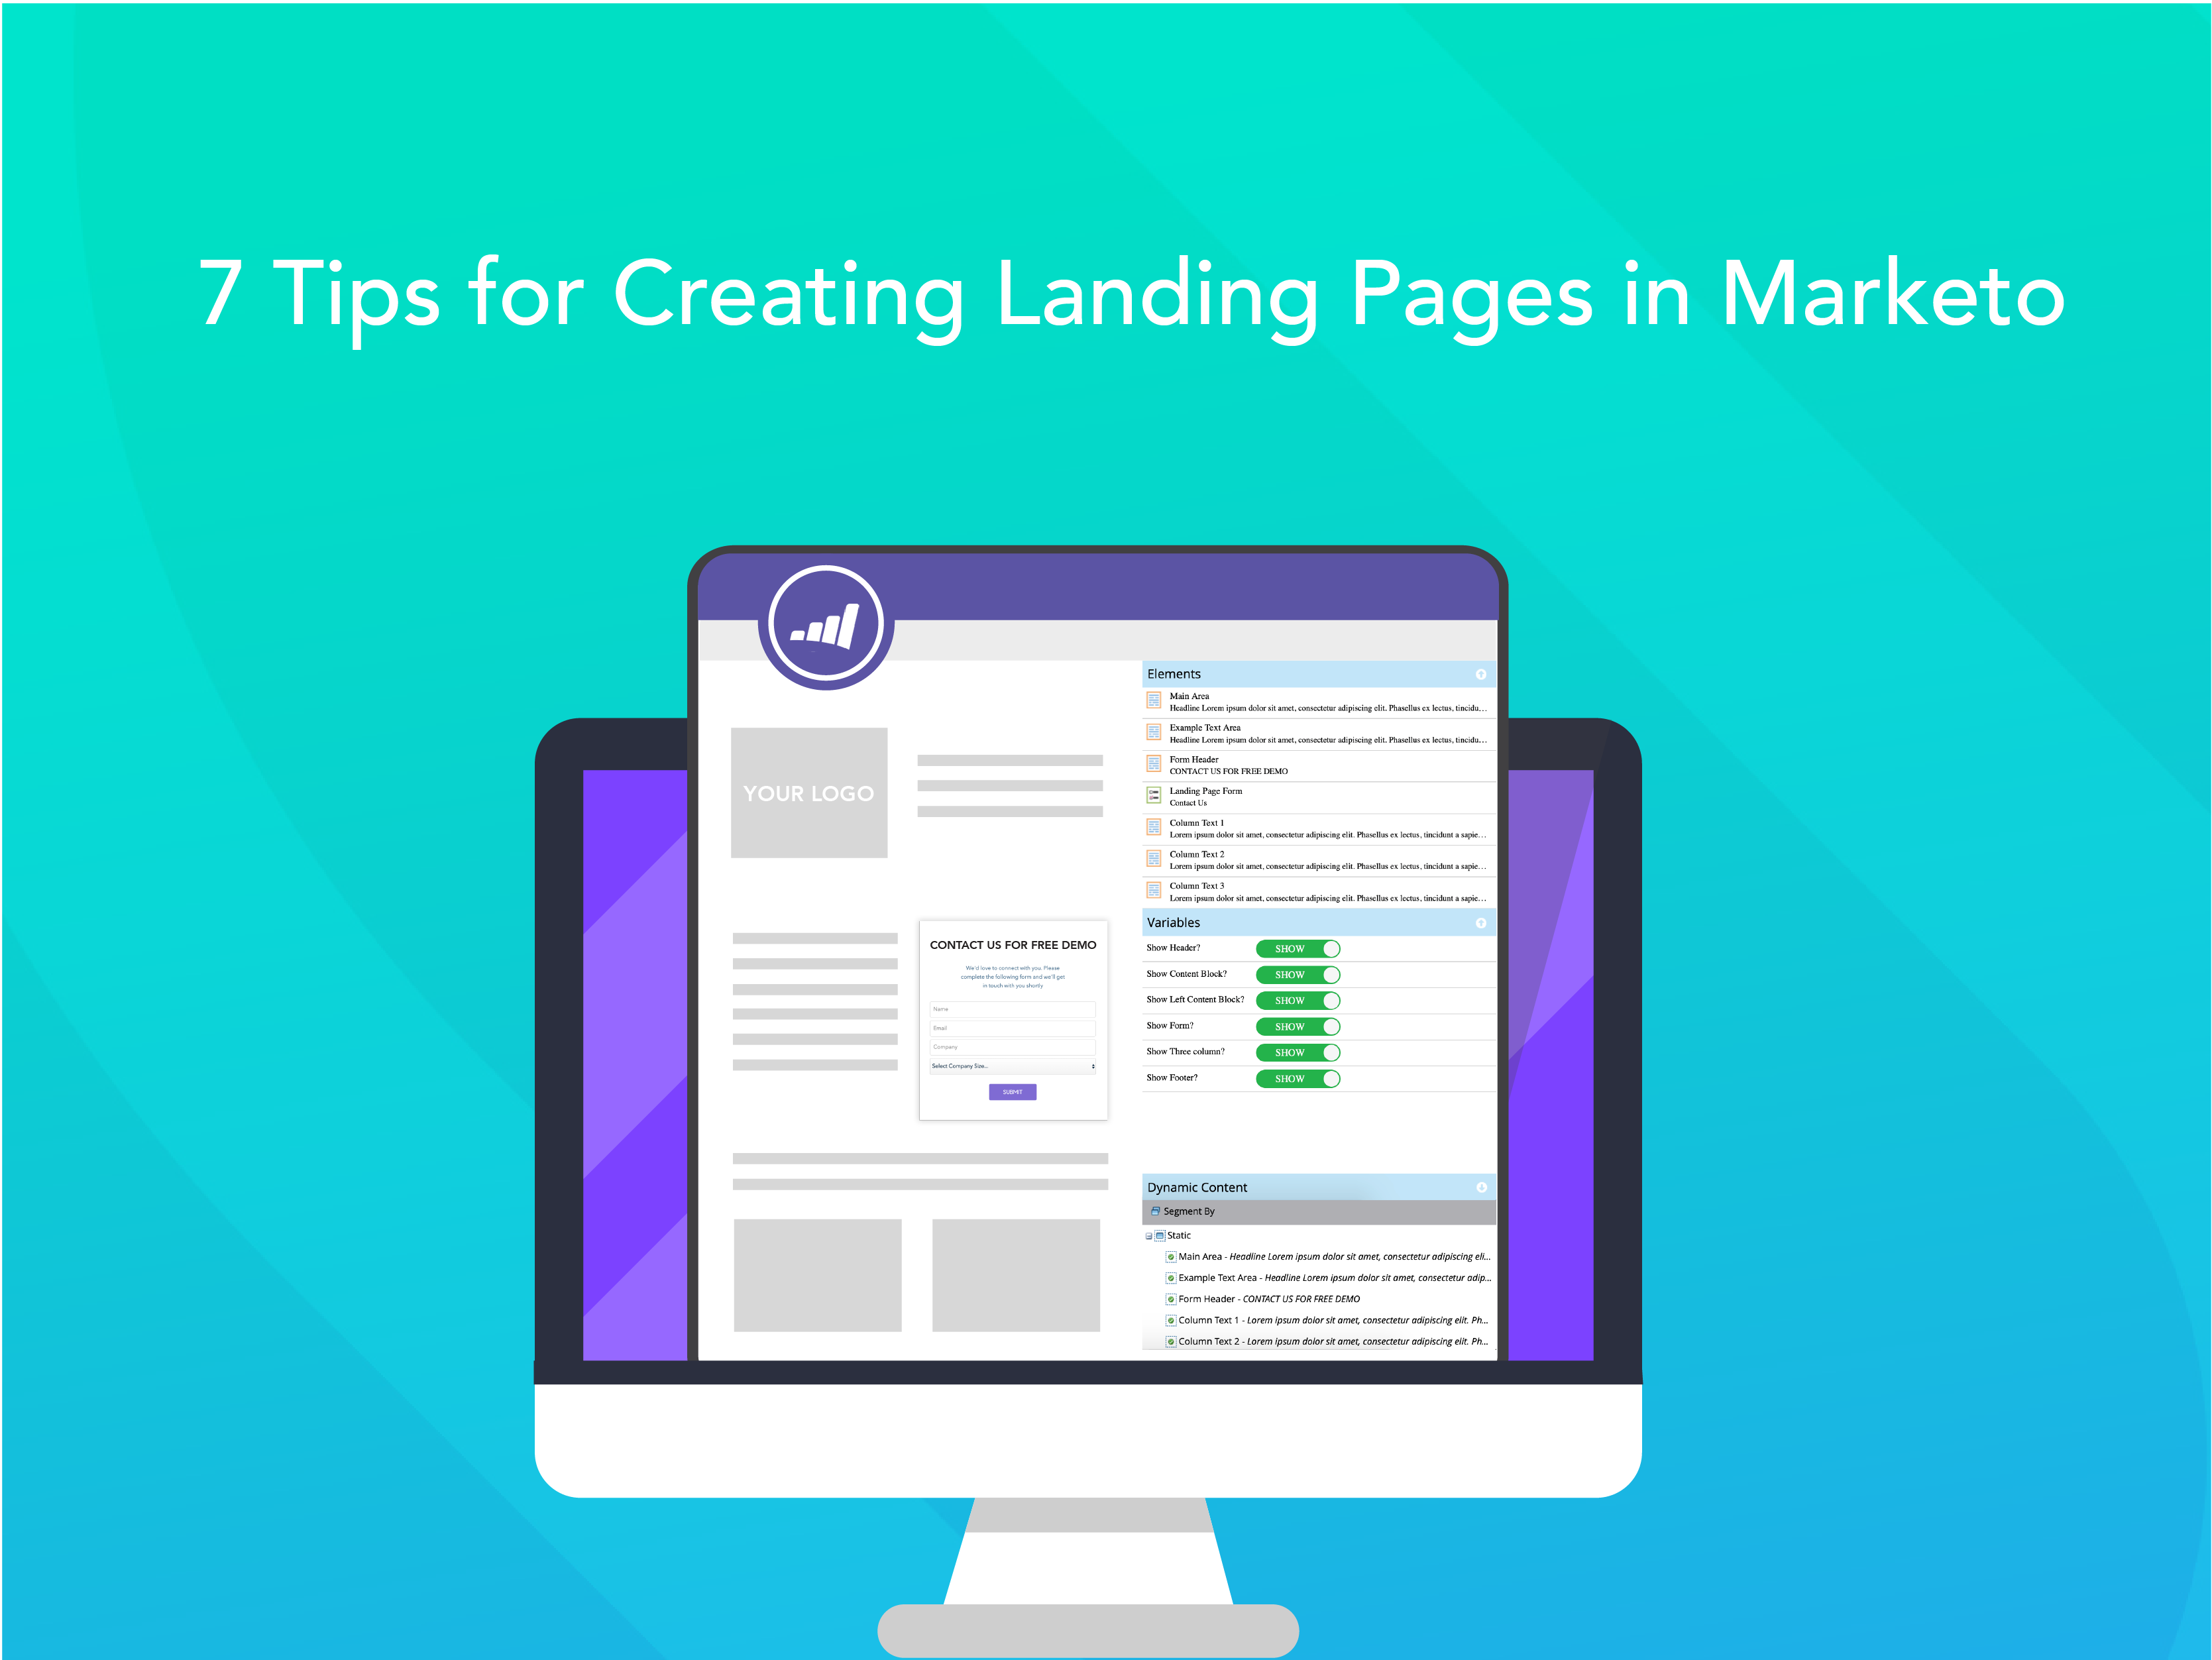
Guided landing pages have a unique syntax and are more customizable compared to Free-Form templates. Guided landing pages contain elements and variables.
- Elements are images, text, or Marketo assets.
- Variables come in a few varieties and act as token-like attributes that can be customized within the landing page editor.
If you need a more complex build, use a Guided template with CSS. I also recommend using a Guided template if you’ve coded a responsive template or want to modify a pre-built Marketo template.
2. Upload custom CSS files to Marketo
I remember experiencing a slight panic attack when I previewed a landing page and none of the styling rendered! I quickly realized that my template was recognizing an external CSS file.
To fix this, I needed to upload my files to Design Studio > Images & File, then modify the reference to the URL in the code. Don’t forget to find and replace any src URLs in these files too. Marketo will serve the file as expected.
3. Edit URL settings
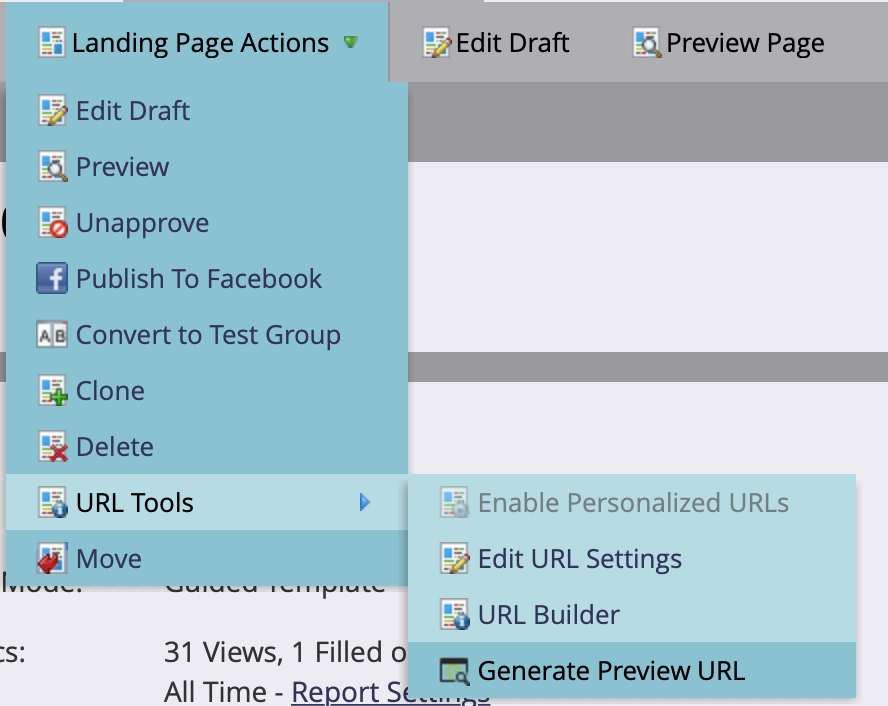
This is great if you want to send a preview of your Marketo page to someone who doesn’t have access to your instance. Choose URL Tools > Generate Preview URL then copy your link and send away.
If you want to customize your landing page URL to be more SEO friendly, choose Edit URL Settings.

4. Name all the elements in your template
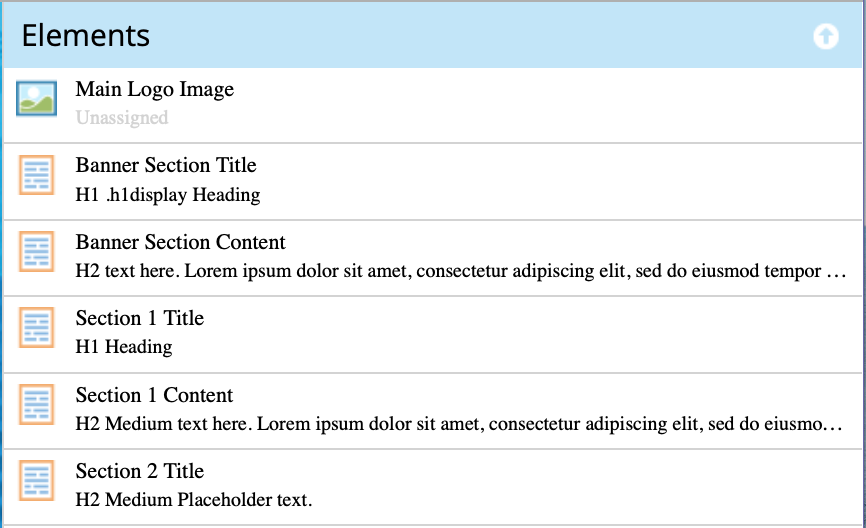
This is a basic maintenance tip and keeps your landing page organized (especially when the templates are cloned by other users). Elements are the different pieces of content that make up a landing page. They can be images, text, or Marketo assets. You can rename these elements by simply double-clicking in the name. These names are also the IDs of the elements.

5. Extra <p> and <div> tags? No room for you here!
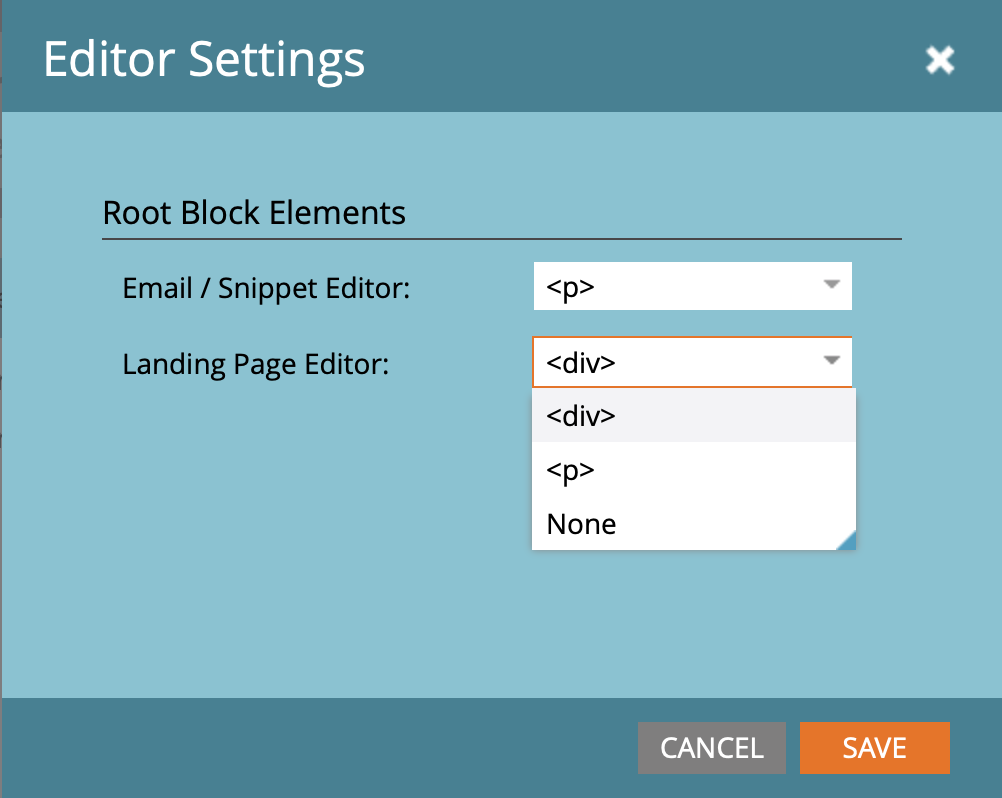
If you aren’t making edits directly in the code, you may run into a number of issues with Marketo’s Rich Text Editor and could potentially be the source of weird spacing. I recommend turning this off in Admin > Edit Text Editor Settings and choose none.
This way nothing extra gets added to your HTML, keeps your code tidier, and gets you closer to the functionality you expect without the extra “help” from this editor.

6. Set up your Marketo landing pages for SEO
Never skip the meta data. This is usually a step people overlook. Meta tags clarify the content of your landing pages. To set this up, edit your landing page then navigate to Landing Page Actions > Edit Page Meta Tags.
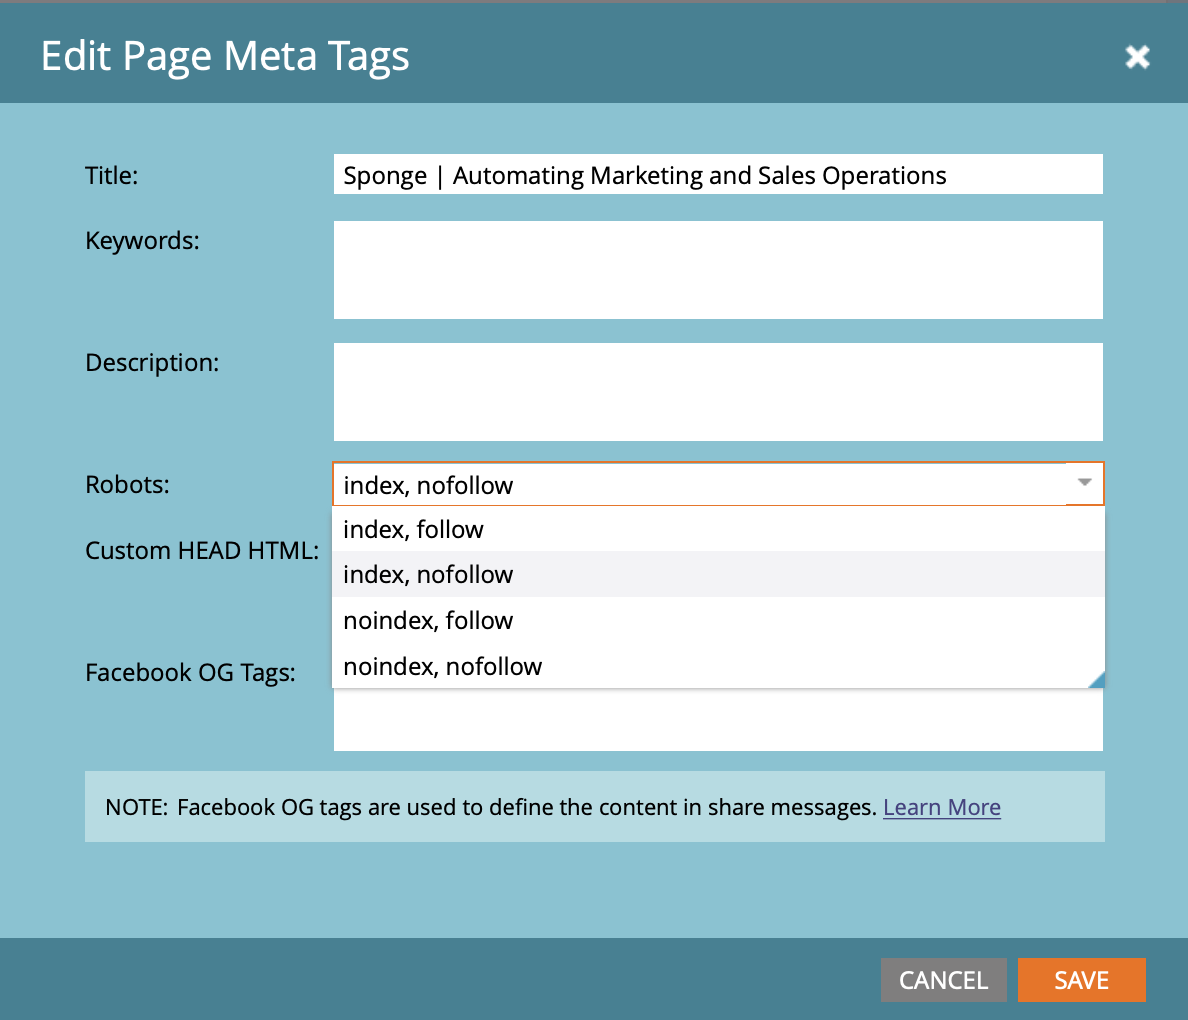

A. Create a title that uses your primary keyword in a sentence.
B. Choose what Robots you want for your Search Engine.
-
- Index – your page and its content are indexed by search engines
- Noindex – your page and its content are not indexed by search engines
- Follow – search engines will follow the links on your pages and transfer SEO
- Nofollow – search engines do not follow the links on your pages
C. Once your landing page is ready to publish, change the status from “nofollow, noindex” to “follow index.” This allows search engines to “crawl” your landing page, index and display them in a search engine [ex. Google] If you do NOT want your landing page to be searched, leave it as “noindex, no follow”.
EXTRA TIP If you have old, irrelevant Marketo landing pages that are appearing in search results and there are too many to remove manually, follow this blog from TEKNKL on Customizing the robots.txt for Marketo LPs.
7. Update an existing template in bulk
If you have your master landing page template built and you need to update existing landing pages associated with the template, you can do this in a very simple way. Go into Design Studio, find the master template and make edits here. Make sure to mass approve and these edits will be applied across all landing pages in your Marketing Activities.
This free, coded Marketo template is beautiful, responsive, highly convertible, and easy to update with your brand colors and logos.

